I had this AWESOME experience 2 weeks ago. Mecca Maxima in Melbourne Central is holding a series of free events on a number of dates where basically you can rock up and learn some tips and tricks and receive some free samples.
So the day I went, they had the "Show Stoppers" event where you would get a mini session with a makeup artist who'd show you some tips and ideas when getting ready for a party. I thought I may as well just drop by after uni and see what I learn. A makeup artist named Amy took care of me, she was SO sweet, helpful and honest. Not only did she give me some tips but she gave me a full face makeover!! Everything from skincare to makeup. I was SO excited because I have never gotten my makeup professionally done and I was able to pick the brain of a really experienced makeup artist. She did a really god job with my makeup, the way she did things was different to how I usually do my makeup which was great as a learnt new ideas and some things that I thought I wouldn't be able to pull off actually worked and looked good.
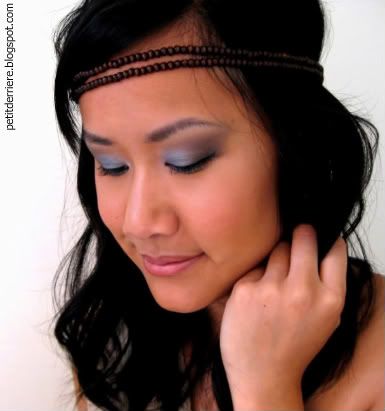
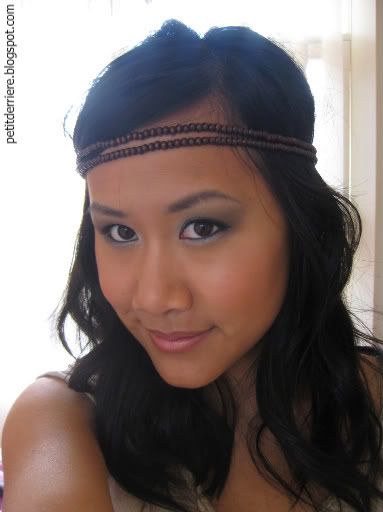
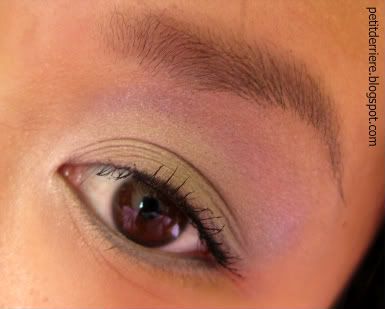
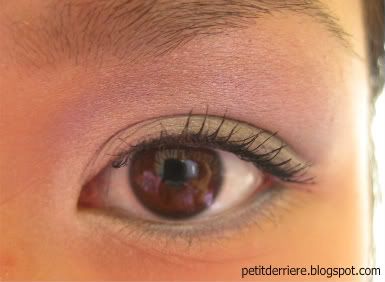
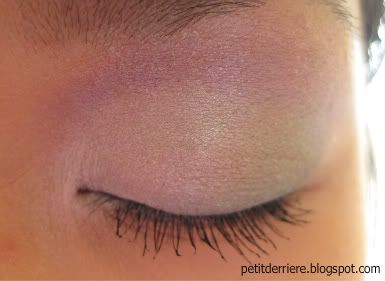
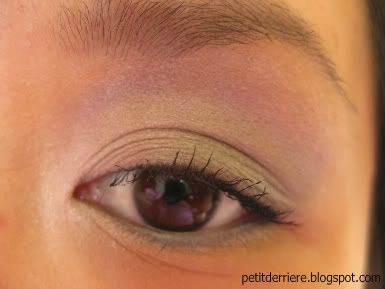
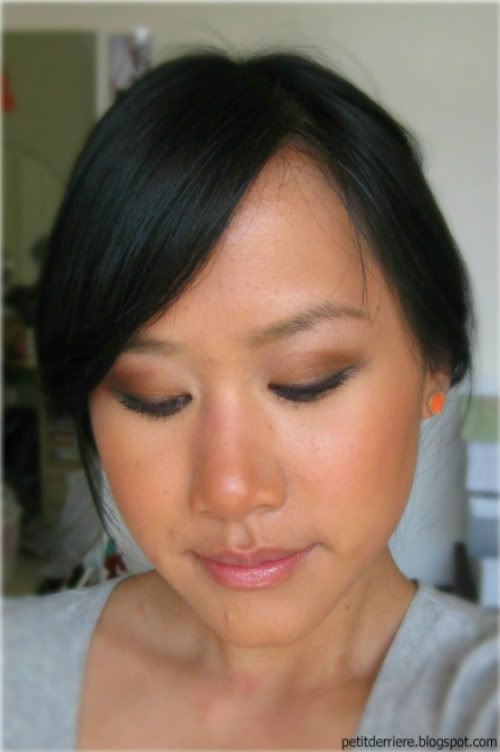
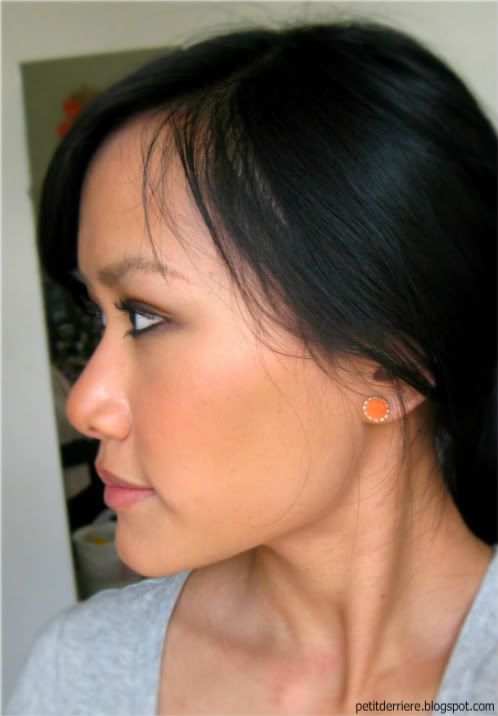
I thought I'd share some photos of the makeover. Excuse the average hair and all that, I rocked up to Mecca after uni and it was a pretty warm day, so by the time I got home to take the photos, my face was getting oily and hair getting messy. I tried to capature the makeup as best I can in the photos, but it was a bit difficult. I will also go through all the products Amy used, how she used them and if I like them.

SKINCARE
After removing my makeup, she gave me a skin peel using Dr. Dennis Gross Skincare - Alpha Beta Daily Skin Peel. I was really nervous because I had never gotten a skin peel before and frankly "skin peel" sounds scary lol. But I had nothing to worry about at all. There are 2 steps to this product. You wipe the first cotton pad, which is already soaked in a solution, all over your face. So this is basically the chemical exfoliator. Then you go in with the second step, do the same thing but this time the cotton pad is soaked in a neutralising solution which stops the first solution from working and lets your skin go back to normal. I LOVE THIS STUFF! It made my skin feel so soft and smooth and it looked so radiant. Flakeyness was removed and some pores were cleared. It is absolutely amazing. Makeup looked so much better on my skin after using this. However the product is rather pricey, $130 for 30 uses, which includes both steps. But I did manage to find it on Strawberrynet for about $77. I have never forked that much for skincare...but I may have to in the future because I can't stop thinking about this product lol.
Next Amy moisturised my skin using Murad - Skin Perfecting Lotion ($50). She told me it was a moisturiser but also had some treatment qualities. It would help balance out my skin since I have very oily skin and also improve the texture and general look of my skin. This lotion is actually quite thick which I was concerned about due to my oily skin. It feels a bit much when you first put it on, but if you let it settle a little, it feels light and really moisturising and my skin felt healthy. I ended up purchasing this (that is the most I have ever spent on skincare), I've been using it more as a night treatment as opposed to a daily moisturiser. Still love the light but super moisturising feeling. As for the treatment side, I haven't noticed any changes to my skin but I haven't been using it that long. So at this stage, I like the product but I'm not to sure that it's worth the $50.
FACE
Amy decided that her aim was to focus on my skin and make it look amazing since it seemed to be my primary concern. So after prepping it with those awesome skin care products, she spent a lot of time working on face makeup.
Primer : Smashbox - Photo Finish Foundation Primer Light
I already owned this product. Still love it, makes your skin looks smoother and keeps your foundation matte and fresh for longer. But she used much more product than what I would usually use. She stressed the importance of using enough since it's the barrier protecting your skin.
Highlighter : Nars - Multiple - Luxor
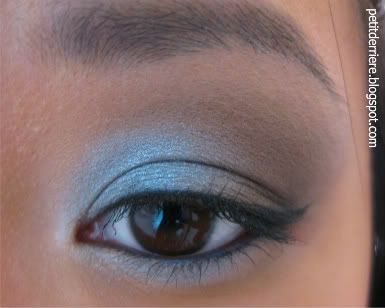
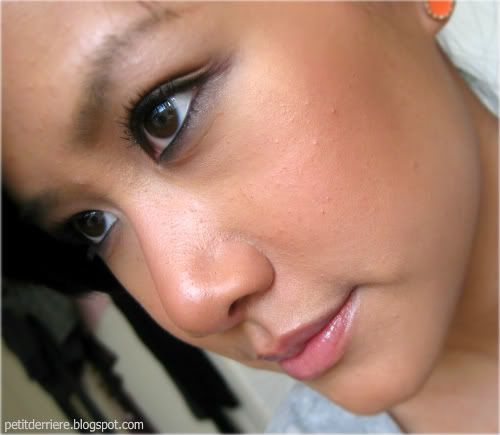
She applied this on my cheek bones and up to my temples before applying foundation which I thought was interesting. I had heard of people doing this, but I always thought what's the point since your foundation is just going to cover it all up. To my surprise the glow came through, it was a nice and subtle inner glow. You can see it in the close-up picture.
Foundation : Nars - Sheer Glow Foundation - Punjab
I was definately apprehensive about her using this foundation. I knew that many people love this foundation. But if there is anything I avoid when buying liquid foundation is "glow." Glowy/dewy foundations just get oily too quickly on me. I was very impressed at the way the foundation could be built up. She showed me how it looked with s sheer application and then she built it up. The general appearance of the foundation was also very natural, it looked like real skin. Definitely purchasing this in the future.
Concealer : Nars - Conealer - Ginger
A full coverage concealer in stick form. Not really much to say about it lol She used it just like any other concealer and I thought it did a good job covering these 2 HUMUNGOUS zits I had on my face.
Setting Powder : I don't remember
Bronzer : Stila - Sun Shade SPF 15 - Shade 2
I don't use bronzer much. When I do, I've been using more cool/neutral toned bronzers for contouring and I don't usually use it for all over. This product is more bronzey...kinda more orangey toned...but NOT in a horrible fake way. It added a nice glowy and alive look. She dusted it all over my face. I think she may have added a bit too much for my liking. I will definitely look into getting a bronzer with more of this tone.
Blush : Nars - Blush - Desire
I requested to use this blush since it's on my wishlist and I just wanted to confirm whether I wanted it or not lol. Still love it, still REALLY want it. She did a really light dusting to show me its versatility. She also pointed out that another makeup artist was wearing it, she had a totally different complexion to me and it looked totally different on her but still amazing.
EYES
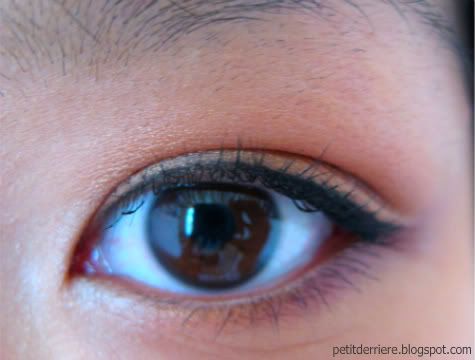
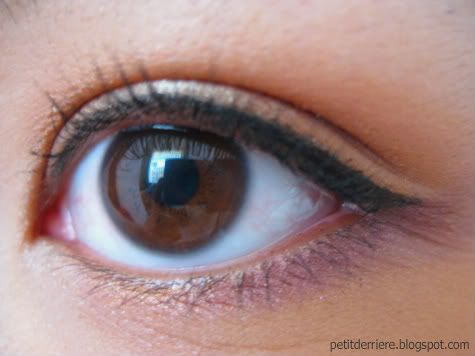
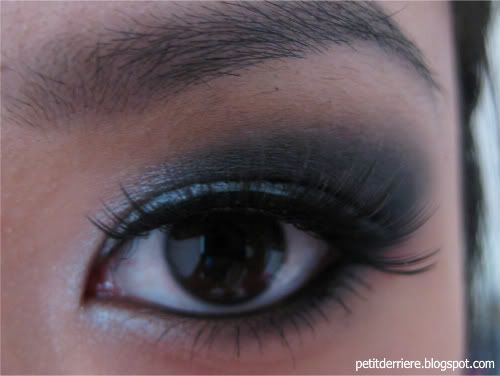
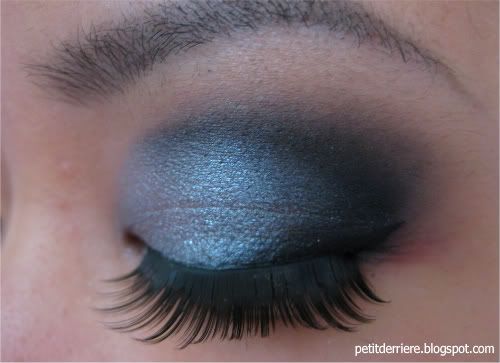
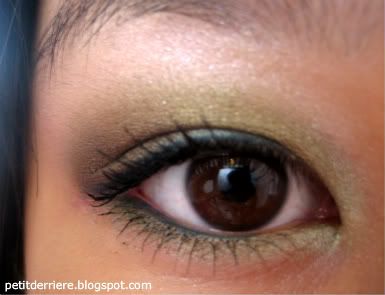
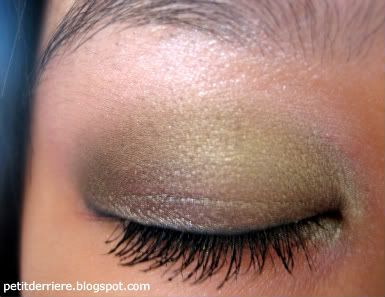
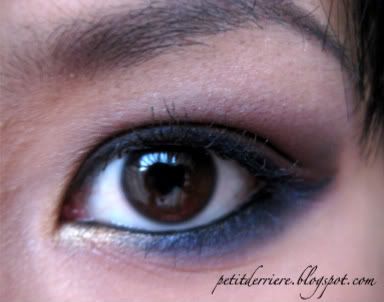
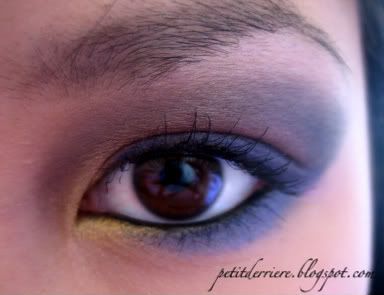
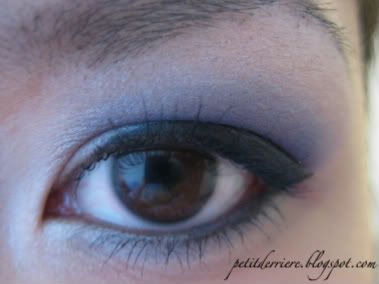
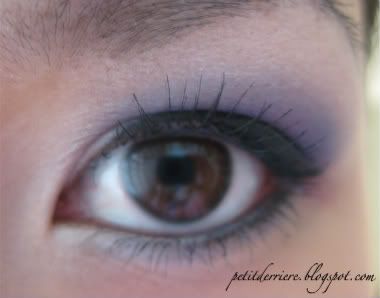
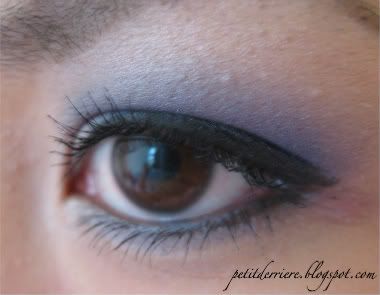
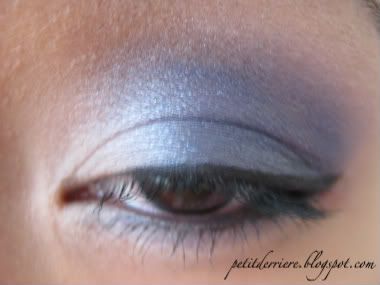
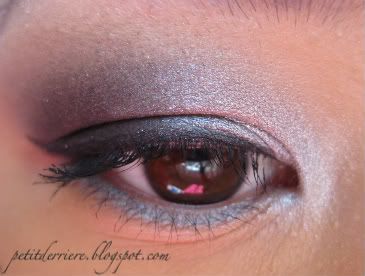
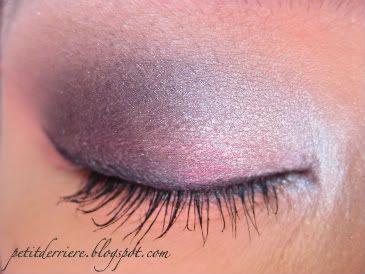
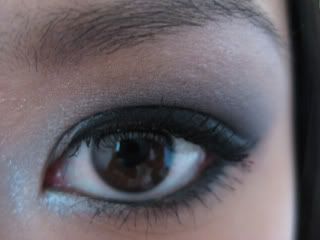
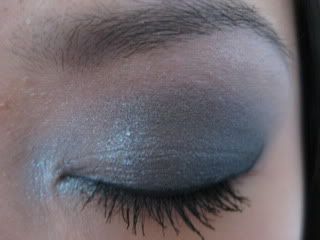
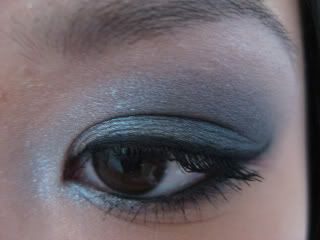
I was pretty happy with the eye makeup. Many makeup artists tend to struggle on Asian eyes or just make us look all kinds of weird lol. Amy did a great job. Unfortunately I had a hard time capturing it in the photos.
Primer : Too Faced - Shadow Insurance
A classic product. I already owned this. Makes your shadow appear more vibrant and fresh for longer. Reduces creasing.
Eyeshadows :
Stila - Baked Eye Shadow Trio - Gold Glow
She used the gold from this trio on the inner half of the lid and the brown on the outter half. Very pigmented and metallicy.
Nars - Eyeshadow - Fez
A medium-deep shimmery brown shade with I think a red undertone. She used this to deepen up the outter corner a bit.
Nars - Soft Touch Shadow Pencil - Aigle Noir
This was applied along my bottom lashline and smudged out to look really smokey and sultry. This black pencil actually had some gold in it which was really pretty. When I normally apply eyeshadow under my eyes and smudge it out, I keep it very close to the lash line. I always thought that smudging it too far down would make me look tired. So it surprised me when it didn't lol. I thought it looked really sexy and sultry. Definitely going to experiment with this more myself.
Eyeliner : Bobbi Brown - Long-Wear Gel Eyeliner - Violet Ink
I loved this! I am pretty conventional when it comes to eyeliners, I pretty much only use black and brown. But this purple looked wow. I'm so annoyed the camera didn't pick it up. She used it along my upper lid and also on my bottom waterline. I used to like applying eyeliner to my waterline. But for some reason stopped. So I hadn't done that in a while. When she applied some of this to my waterline, it brought back memories lol. Again I was surprised that the purple looked SO good! and lining my waterline added drama n definition as well as adding to the sexy sultry eye look.
LIPS
Stila - Lip Glaze - Amaretto
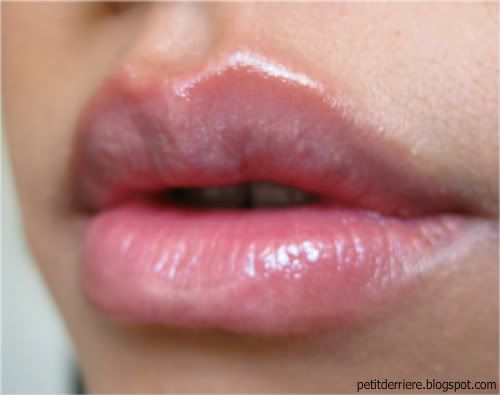
I'm more of a lipstick girl than a gloss girl. And definitely more into pinks than nudes. Amy decided to go with a nude lip, just to do something that I normally wouldn't do. I actually really liked the look. The lip glaze was pretty pigmented, shimmer free which I like, pretty long lasting and super moisturising. I really liked the colour. It allowed my natural lip colour to peak through a bit which I thought was really nice.
I think that was everything lol. I was really happy with the look. The highlight product for me was the Dr. Dennis Gross Skincare - Alpha Beta Daily Skin Peel, love it, will have to save some money and build the confidence to spend that much money on a skin care product lol. I felt that Amy definitely achieved her goal of making my skin the stand out feature. My skin isn't the best in the world but she made it look and feel the best I've ever seen it. Hope you aren't too bored after reading that massive post.


